Published: December 1, 2023
How To Prepare Your Candle for the First Burn
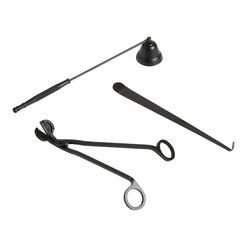
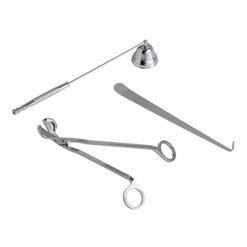
Before lighting, trim your wick to 1/4 inch with a wick trimmer for a clean and even burn. Maintain this length for every use, trimming only when the candle has cooled to prevent debris in the candle wax.

Candle Burning Tips
Before lighting your candle, select a room with good airflow, avoiding drafts and fans that could lead to unsightly marks on the vessel and uneven burning. Place your candle on a flat, heat-resistant surface, keeping it out of reach of pets, kids and any curtains or drapes.
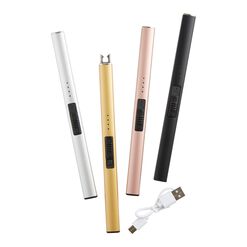
For the initial burns, a trusty lighter works well, but as the wax level drops, switch to a longer match for safe wick lighting. Keep a close eye on your candle's progress and stop burning it when only 1/4 inch of wax remains at the bottom.
Pro tip: Let your first burn last between 3 and 4 hours, until the pooling wax reaches the edges of the jar or container.
Achieving an Even Burn for Your Candle
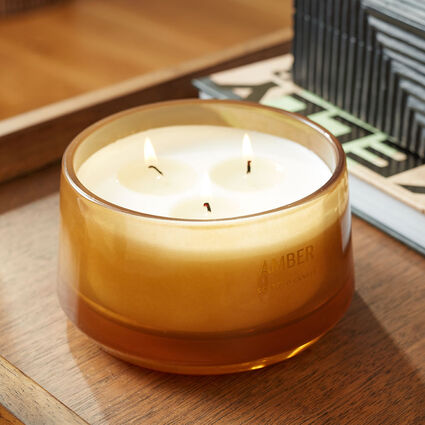
To ensure your candle burns evenly, prevent tunneling, when only the center of the wax right around the wick melts and burns down, by allowing it to melt across the entire surface each time you light it. This typically takes 2 to 4 hours and depends on factors like wax type, fragrance and room temperature. If the flame gets too high or flickers, extinguish the candle, let it cool, trim the wick and check for drafts before relighting. Maintaining the right wick length is key: too short may result in tunneling or less fragrance, while too long can lead to overheating, thin wax and soot.
Wick Care
To ensure an even burn and optimal performance of your candle, maintain a clean wax pool by removing wick trimmings and matches, as debris can act as a secondary wick, quickening the burn. After extinguishing the flame, center and straighten the wick to prevent movement or slanting caused by prolonged burning, minimizing the risk of vessel cracking. Additionally, keep the wick trimmed to prevent issues like high flames, smoking and sooting.
Extinguishing Your Candle
To safely put out your candle, use the candle lid, a snuffer or a wick dipper tool. If you prefer blowing it out, do so gently to avoid any splattering of hot wax.
Caring for Your Candle
When not in use, store candles in a cool, dry place, keeping them covered to protect them. Use tweezers for removing debris and a dry towel for cleaning away soot and fingerprints. Make sure to wipe any condensation before lighting.
Candle Burning Tips
- ● Never leave a burning candle unattended.
- ● Avoid moving the wax, burning for more than 4 hours or neglecting wick trimming.
- ● Keep candles away from small, unventilated spaces and flammable materials.
- ● Stop burning a candle when there's 1/4 inch of wax left.
- ● Never move a liquid candle container.
- ● Do not use water to extinguish candles.
Choosing the Right Holder
Protect your surfaces from heat by using an appropriate holder for your candle type.
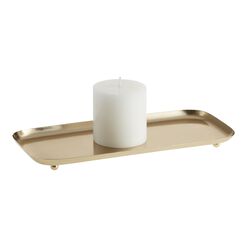
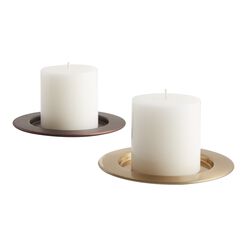
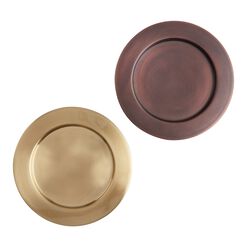
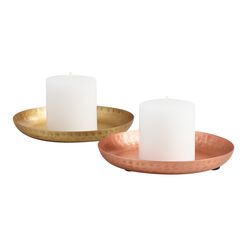
- ● Pillar candles, with their free-standing design, benefit from concave bases or those with a protective lip to contain any potential wax spills.
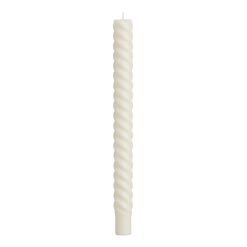
- ● Taper candles should match the diameter of their holders; if not, you can adjust them by shaving or warming the base for a secure fit.
- ● When using votive candles, opt for holders slightly wider than the votives themselves to accommodate the molten wax. Glass votive holders not only prevent wax from spilling but also enhance the candle's luminosity.
Which Wick?
Each candle has a unique burn time based on its scent and care. Single-wick candles are perfect for smaller rooms, while double or triple wick candles work well in larger spaces.
